GENERAL VINYL INSTALLATION/APPLICATION INSTRUCTIONS
Vinyl images, vinyl decals and vinyl lettering/numbers come sandwiched between transfer tape and a waxed paper liner. The transfer tape, on top of the vinyl, has a very low-tack adhesive that is used to keep the image, decal or lettering pre-spaced. Vinyl should only be applied to a clean, non-porous surface. The smoother the surface, the better the adhesion and the longer the vinyl will last.
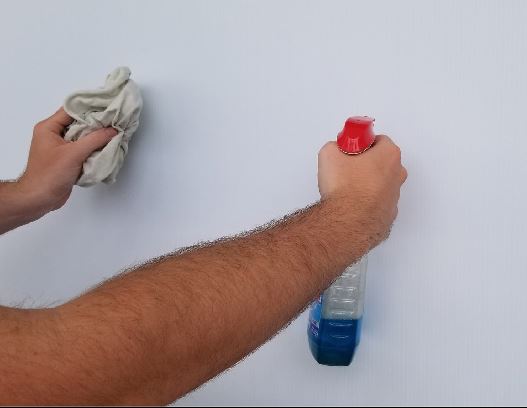
1. Clean The Surface
Use glass cleaner or a mild all-surface cleaner with a dry cloth. Thoroughly clean the surface and make sure that any dirt and dust particles are removed from the surface of your substrate as they will cause the vinyl decal, vinyl image or vinyl lettering to bubble. Before moving forward make sure that the surface is completely dry. You can always take a second dry cloth and wipe down the surface to make sure that it is dry before vinyl application.
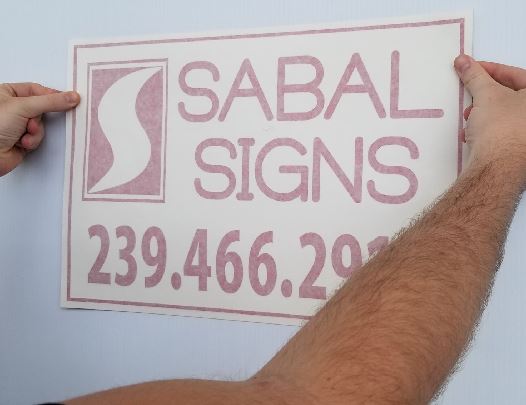
2. Position The Vinyl
Measure and align where you would like to apply the vinyl decal, vinyl image or vinyl lettering and secure with tape at the top two corners to hold in place. If adjustments need to be made you can re-position the vinyl and tape down again until you are happy with the placement. Make sure that it is positioned symmetrically. Don't move forward with your vinyl application installation unless you are completely satisfied with the positioning of your vinyl.
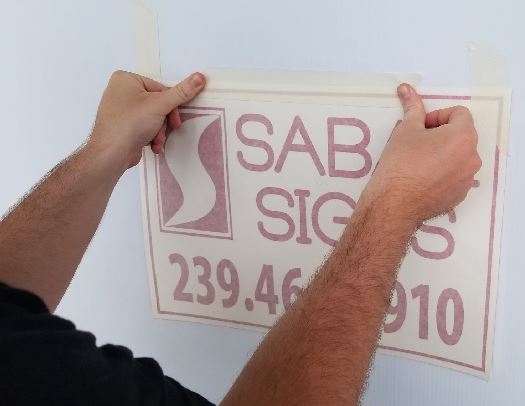
3. Hinge The Vinyl
Once you are satisfied with the position, you'll want to apply a piece of tape across the top of the vinyl image, vinyl decal or vinyl lettering to create a hinge that keeps your vinyl in place for a flawless vinyl application. The hinge secures your vinyl to the substrate, in the exact position you want, and enables you to flip up the vinyl piece too remove the backing tape as noted in Step 4 below. The is the last preparatory step in the vinyl installation and application process.
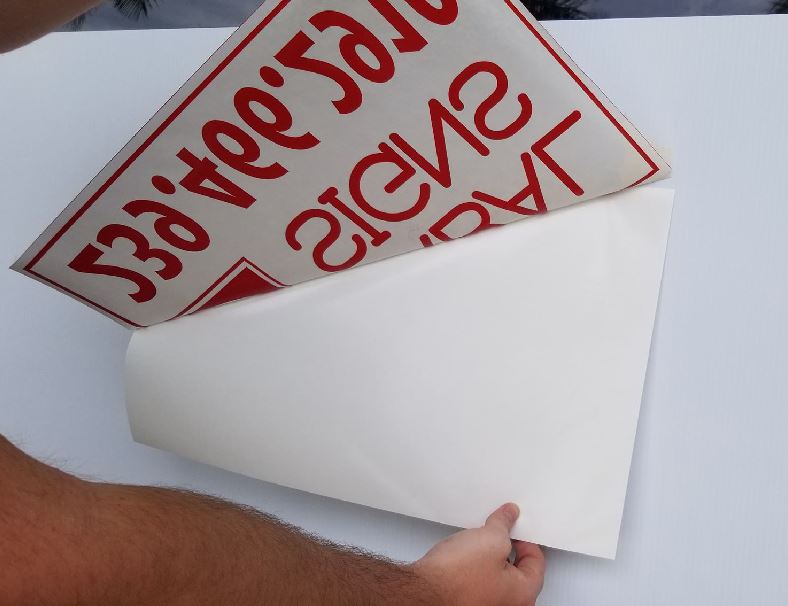
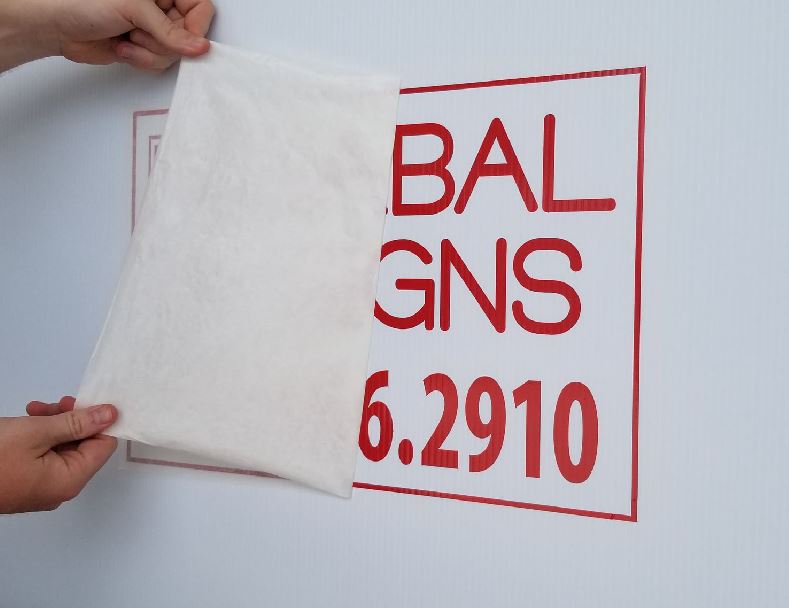
4. Remove Vinyl Backing
With the top piece of tape functioning as a hinge, simply flip the vinyl image, vinyl decal or vinyl lettering up and carefully remove the backing paper from the transfer tape. By removing the backing paper you are exposing the adhesive side of your vinyl, so be prepared to continue onto Step 5 without any hesitation. Once the backing paper is removed you are ready to apply your vinyl to your surface of choice. (NOTE: For large vinyl installation it's recommended to grab a partner to help hold the vinyl up before applying the vinyl to the surface.)
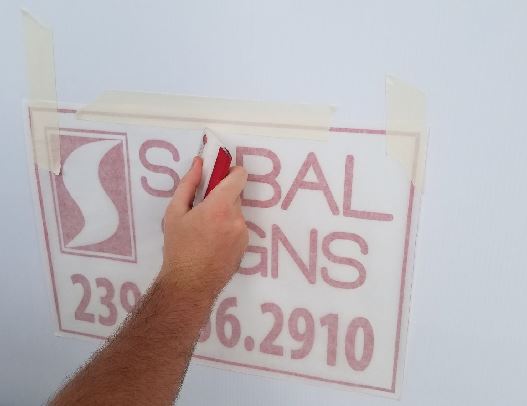
5. Apply The Vinyl
Pull the image/lettering taut at both corners to make sure your exposed vinyl doesn't' adhere to the surface before it's time. With a firm grip on the corners gently lay down the sticky side of your vinyl to the surface of your substrate. Then you can begin to squeegee the vinyl onto the surface. Start in the center and work up and down, left to right. Be sure to go over all areas firmly! Pressing hard during the squeegee process helps to force air bubbles out.
6. Remove Transfer Tape
Once you have squeegeed down the whole entire vinyl piece you are almost done. First remove the taped hinge at the top of the vinyl image, vinyl decal or vinyl lettering. Next, carefully peel away the transfer tape on top of your vinyl to expose the perfectly installed vinyl underneath. If you notice any small bubbles in the vinyl, grab a push pin and puncture the surface of the bubble to release the trapped air.